
|
Vinyl Asylum Welcome Licorice Pizza (LP) lovers! Setup guides and Vinyl FAQ. |
|
|
|
Vinyl Asylum Welcome Licorice Pizza (LP) lovers! Setup guides and Vinyl FAQ. |
|
Following up from various threads about phono setup and SRA in particular I thought I might post my experience of using the USB scope method so that others can hopefully learn from what I experienced by trial and error.The overall experience is rather painstaking but one that gets better with practice. There are also a number of potential sources of measurement error so part of the process is trying to minimize or eliminate these wherever possible.
As you know doubt know the aim is to get the stylus tracking the groove at 91-92°. To assess this you will need to be able to get a precise fix on a) the plane the tip of the stylus hits the groove at and b) the horizontal plane of the LP itself.
In my setup (AirTight PC-1 mounted on a TriPlanar VII on an EAR DiscMaster measured with a DinoLite AM3113T scope held in an RK-10 stand) this is the process I settled on
A) Remove the LED light and shield assembly from the scope -- otherwise you may not be able to get close enough to focus given short focal length at high magnification. In the case of the AM3113T and all fixed cover scopes this may mean actually breaking off the cover, it can be reattached (provided you reset the LED light power clips that probably bent in removal). I used a clip on LED light to provide illumination
B) Get the scope mounted in the stand and close to and pointing down and slightly above the platter edge -- important to point down so you can see the stylus and not be obscured by the LP (see photo below for what the arrangement looked like for me)

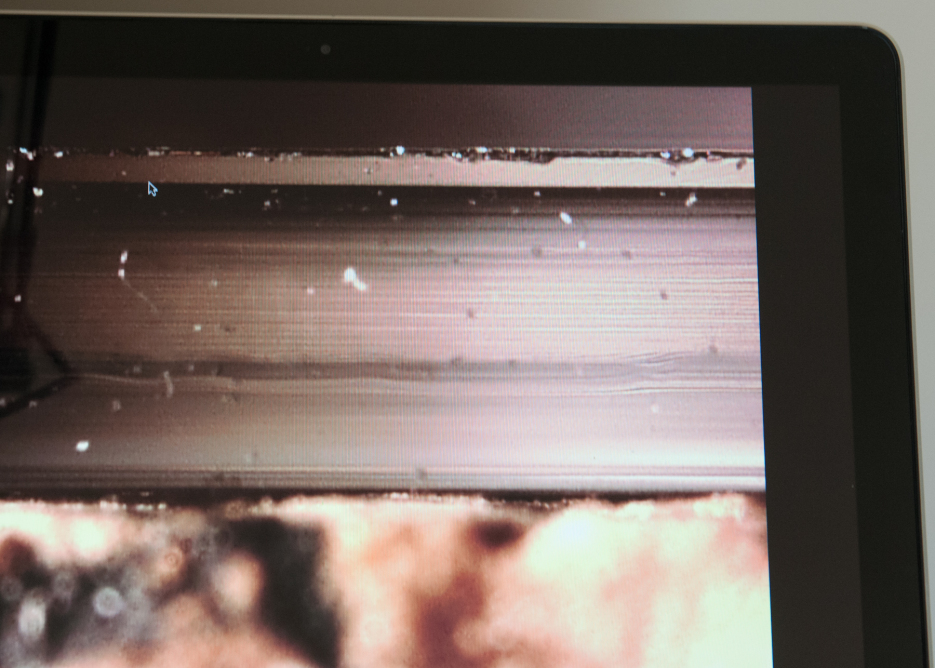
C) Level the scope. Now some recommend trying to get the level reference point and the stylus in the same view for me this didn't make sense as you would a) have to find a level reference on the same scale as the stylus and b) get it close enough to the stylus to be in the same focal plane which to me means risking stylus damage. Instead I chose to level the microscope first and use the inbuilt software to ensure a very reliable horizontal reference (for which see later). My reference for leveling was a CD -- CDs have very uniform surfaces and actually many even horizontal lines in the edge to serve as references. No need to use too much magnification at this stage 50-100 should be fine. With the RK-10 mount I was able to use the vernier to move the scope up and down to check horizontal alignment by seeing the top edge of the CD reference perfectly match the top of the scope view screen. You then rotate the scope in the mount to get it level. The image below shows what you should be seeing at this stage (in this case with the left edge of the scope needing raising)
D) Get the stylus in focus. Check you have disabled anti-skate, and that VTF is at your reference level. Now place the stylus on your chosen LP thickness at our around the first few grooves. Using magnification 200X bring the scope close enough to get a crisp view on the stylus. You will know it when you get it -- looking like the image below

E) Establish your reference for the stylus point and its plane of intersecting the LP. Likely you will not be able to see the tip of the stylus and so your reference will have to be a straight edge in the stylus. In the case of the PC-1 the back of the stylus is a nice clean edge so I use this as the reference. Assuming all is still in focus capture an image and prepare to make a measurement
F) Making a measurement. Sit still, focus, ideally have a mouse or other precise pointing device available. In the case of DinoLite on a Mac the software is DinoXcope 1.9.7. Having opened the image of the stylus select the 3-point angle measuring tool and make the image full screen to make it as easy as possible for you to establish your measurement. Take the first measurement by drawing along the stylus reference (in my case the back edge). This is by far and away the hardest and least precise part of the measurement so be patient and be prepared to repeat drawing the line as many times as necessary. To establish an angle you then need to draw a second line on the horizontal plane. The DinoXcope software makes this easy by projecting dashed lines perpendicular to the line you are drawing -- you will know you are hitting the horizontal when the dashed line disappears all at the same time as you move the mouse to the right side of the image. You will quickly learn that tiny differences in how you draw this line (and by extension the first stylus line as well) have big impact. You've now taken your first measurement.
G) Adjust the SRA by raising or lowering as needed (raise to increase SRA, lower to decrease). If you are off by several degrees you will need to make what seem very gross changes -- on a TriPlanar and my setup each full rotation of the VTA tower only changes SRA by a fraction of a degree. If you've need to change SRA by anything like a degree or more you MUST recheck VTF -- SRA and VTF interact and if you don't regularly recheck you will be getting very off results. Now this is a complete pain in the butt especially as to check VTF you probably will need to remove the LP and mount your stylus gauge in place (and hence need to refocus the image of the stylus again when you get back)
H) Keep capturing the image, measuring, adjusting SRA and resetting VTF until you are within +/- .25° of target -- at this stage and for smaller changes you probably don't need to check VTF after each adjustment. Finally settle on a value in the 91-92° range you are comfortable with (I ended up at 91.7°)

I) Check VTF one last time. Reinstall anti-skate and from here on out fine tune by ear -- if you find you need to make big adjustments to VTA/SRA (say in the Tri-Planar case more than +/- one tower rotation) then consider remeasuring SRA otherwise sit back and enjoySorry this has been an essay but given the process is so painstaking and also one in which practice makes a big difference being able to learn from another persons method may help you avoid problems of your own.
This post is made possible by the generous support of people like you and our sponsors:
Topic - How to use a USB scope to set SRA -- my experience - FolkFreak 05:05:57 06/12/14 (21)
- RE: How to use a USB scope to set SRA -- my experience - jbcortes 01:32:58 06/13/14 (3)
- The effort is worthwhile - FolkFreak 05:43:35 06/13/14 (2)
- I'm sure it is - jbcortes 10:57:11 06/14/14 (1)
- RE: I'm sure it is - FolkFreak 12:23:12 06/14/14 (0)
- Awesome, thank a lot! nt - risabet 15:10:09 06/12/14 (0)
- RE: How to use a USB scope to set SRA -- my experience - Leefy 10:24:56 06/12/14 (0)
- Great pics. best closeups i have see. nt - Elizabeth 09:09:14 06/12/14 (0)
- Excellent Advice--Frustrations noted! - Des 07:45:59 06/12/14 (11)
- RE: Excellent Advice--Frustrations noted! - Leefy 08:37:47 06/12/14 (10)
- RE: Excellent Advice--Frustrations noted! - Tre' 09:40:59 06/12/14 (3)
- Thank you Tre' - Des 10:03:36 06/12/14 (0)
- RE: Excellent Advice--Frustrations noted! - Leefy 09:44:44 06/12/14 (1)
- You're welcome. (nt) - Tre' 09:53:02 06/12/14 (0)
- RE: Excellent Advice--Frustrations noted! - Des 09:34:58 06/12/14 (5)
- RE: Excellent Advice--Frustrations noted! - Leefy 09:46:52 06/12/14 (0)
- RE: Excellent Advice--Frustrations noted! - Leefy 09:38:43 06/12/14 (3)
- Another good article - FolkFreak 12:02:36 06/12/14 (0)
- Sure thing - Des 10:00:13 06/12/14 (1)
- RE: Sure thing - Leefy 10:16:09 06/12/14 (0)
- Thanks for posting..... - StephenJK 06:04:37 06/12/14 (0)
- Great instructions! :-)) nt - andyr 05:19:02 06/12/14 (0)
